

With cold temperatures and frosty soil, winter is hard enough for your existing garden let alone trying to plant any new seeds. And, if like me, you're lacking indoor space and don't have an external greenhouse then this hack might be the game changer you're looking for.I've been researching about setting up my own mini greenhouses while I wait to plant these 7 winter-hardy vegetables in February. While there were several ideas on what to buy, I stumbled across a TikTok that said I could make them pretty easily yourself – and all I'd need is a milk jug. So, I thought I'd give it a try. Here's what happened.How does it work? @sandra.maria.home ♬ original sound - Sandra Sharing DIY home and garden tips on TikTok, @sandra.maria.home has almost 65k followers watching her videos, but it was what she had to say about milk jugs that really caught my attention. In one video, she explains: "This is a milk jug greenhouse method I have perfected over the years. A mini greenhouse lets you start seeds outdoors way earlier without grow lights or without bathing seedlings inside. For me, it's the start of the growing season."And all you need is a milk jug (or several, depending on how many seed starters you're planning), a pair of scissors, a kitchen knife and some duct tape. And, of course, some soil and your seeds.Then, follow these five simple steps:Wash your jugs out to avoid any mold and throw away the lidsCut the jug in half using a knife or scissorsUse the knife/scissors to make some drainage holes in the bottomFill the bottom half with appropriate soil and plant your seedsSeal with duct tapeSandra has some advise from her years of mini greenhouse making when it comes to the soil you choose: "Don't use anything with fertilizer, it's too harsh for the seedlings and will kill them." And, if you're planning on planting multiple seeds, use a pen or wax pencil to number the jugs so you don't lose track of which ones are which. Once spring comes around, you can gently release the duct tape and let the plants acclimatize for planting in your yard.If you haven't already got duct tape lying around the house, you can pick it up for just under $4 to secure the edges of your mini greenhouse. It's durable, heavy duty and has excellent adhesion. If your duct tape is struggling to stick in the cold, Sandra recommends heating it up with a hair dryer.View DealHere's what happened when I tried it(Image credit: Future)While Sandra says she picks her jugs up at her local coffee shop, which is a seriously clever idea, I live in a busy household where we happen to drink a lot of milk. Or, at least enough for me to collect a few jugs myself.So, milk jugs in hand, I followed her steps using scissors to cut and make drainage holes as I found this a lot easier. I then lined them up in my yard in a place I knew I could keep an eye on them without having to venture too far.(Image credit: Future)Another piece of advice that I think is worth mentioning from Sandra's video is that she says to densely pack the seeds in since this small jug of soil won't be their forever home. That means there will be more to move over once spring rolls around and they can grow into their new environment.Sure, I need to wait and see how effective my mini greenhouses actually are when spring comes around, but I'm happy that I didn't waste any money and hardly any time doing it. So, if some seeds are successful and others aren't, I'll still be happy to try again.What I loved about this gardening hack is that making the mini greenhouses really took me no time at all – and it also didn't cost me anything. Considering how easy and affordable this hack is, I'll definitely be recommending it to friends. I just might wait until next year, so I can show them proof that it really does work. Not that I don't trust Sandra!More from Tom's GuideWhat actually happens if you leave fallen leaves on your lawn — and why you’ll regret itI've lost too many plants to cold weather — garden experts share 3 tips to help them survive the winterWinter is deadly for helpful insects but your yard can save them — here's how
I tried this viral budget hack for winter greenhouses—here’s how
TO
Tom's GuideBy Grace Dean 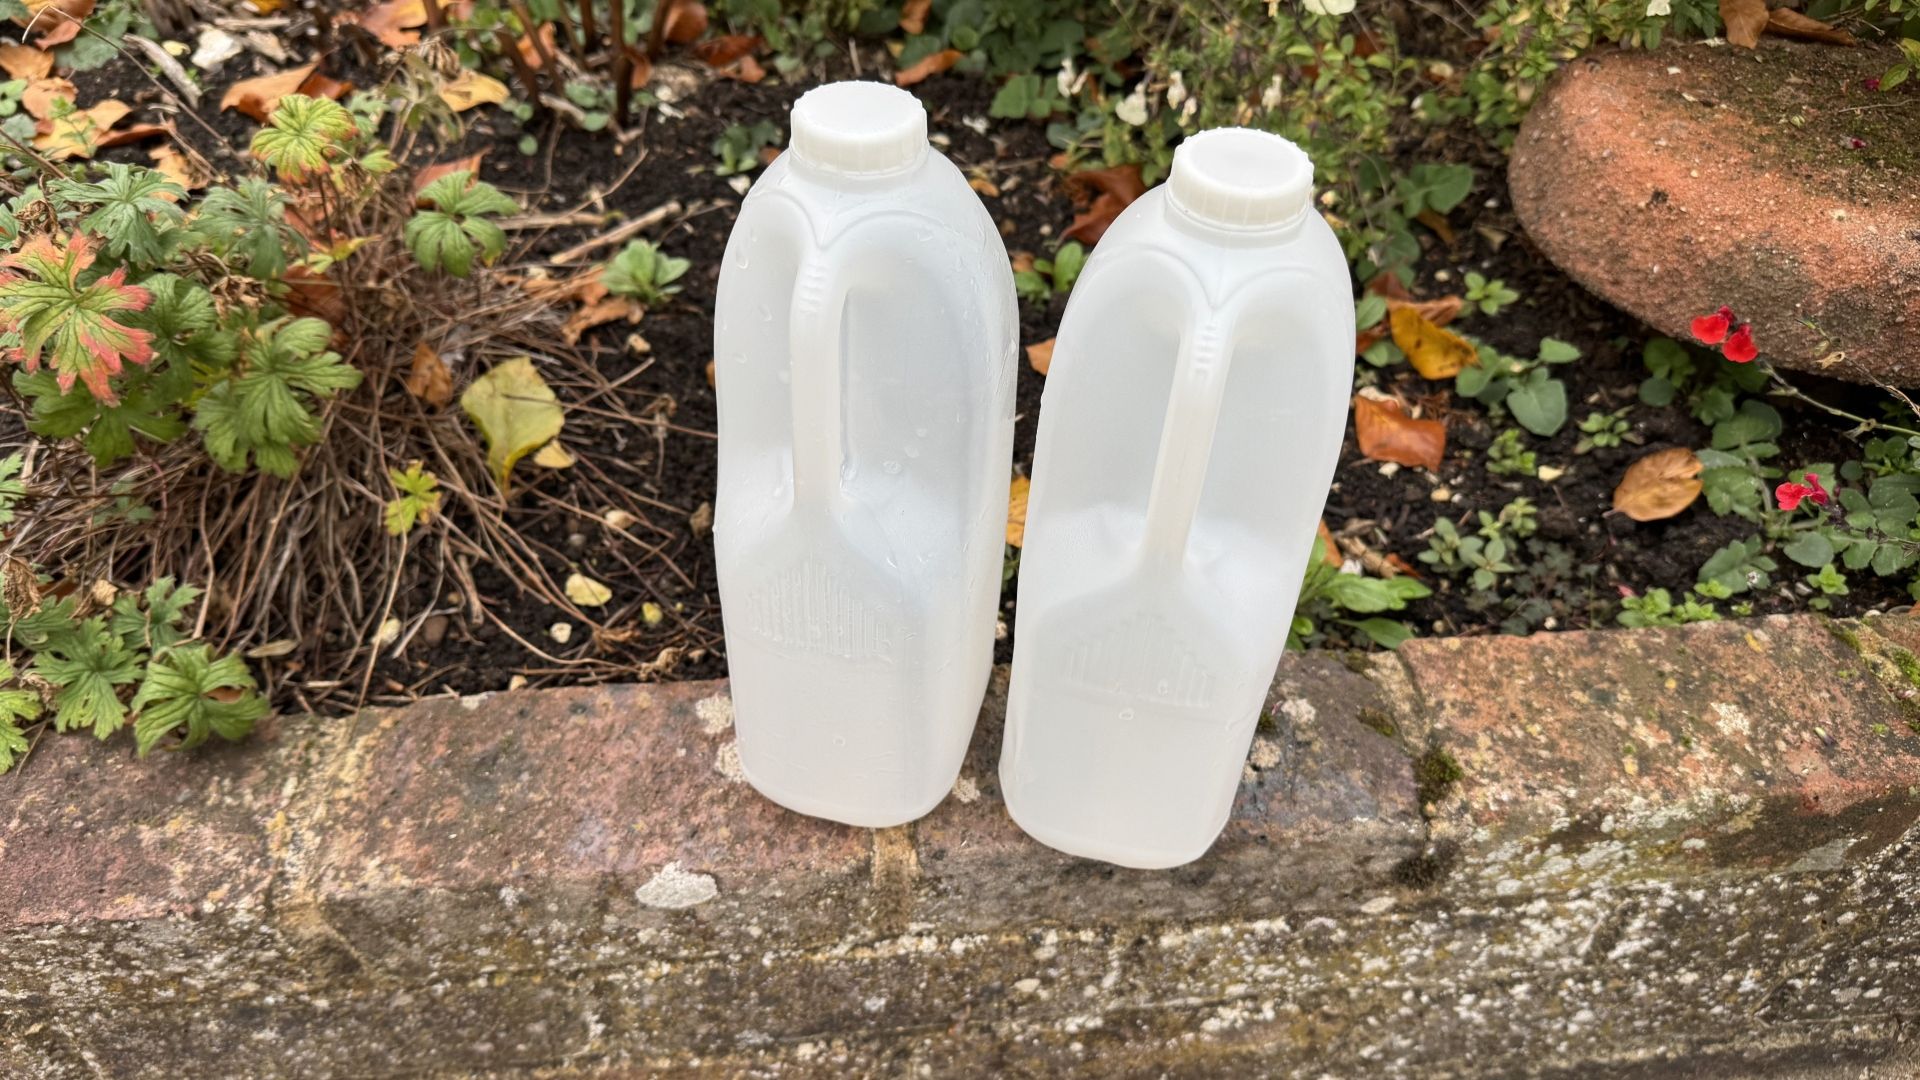
EXECUTIVE SUMMARY
Winter isn't great for starting seeds, but with this easy hack you can set up mini greenhouses in your garden that'll protect your plants until spring.
Key Takeaways
- I tried this viral budget hack for winter greenhouses—here’s how.
- Winter isn't great for starting seeds, but with this easy hack you can set up mini greenhouses in your garden that'll protect your plants until spring.
- With cold temperatures and frosty soil, winter is hard enough for your existing garden let alone trying to plant any new seeds.
Read Complete Original Article
Published originally on Tom's Guide